
Currently we're explaining these programs:
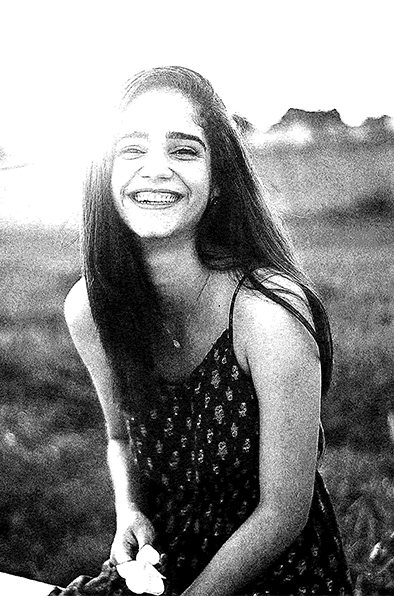
In this example we use this image:
If you want to use the image and follow the step just
click here
We import the image in imag-r.com.
If needed, we can now crop the image to select a special part.
Now we select the material we want to use.
In my case it is wood.
I will resize my image to 130mm in width,
height will calculates automatically in scale.
Also i choose 318 DPI on the dpi setting.
Under Scan Gap and DPI you can see I use 0.08mm Step Size.
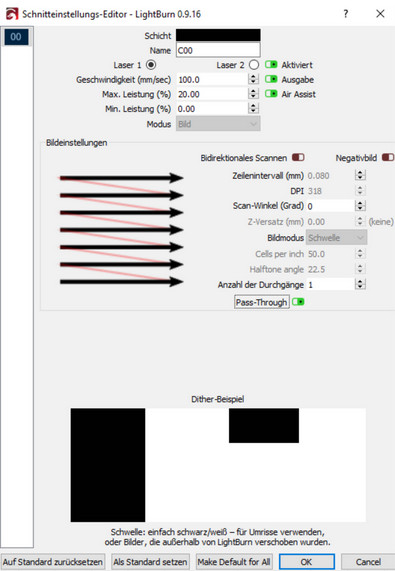
Now we can save our image.
For Lightburn I would definitely use .BMP as format.
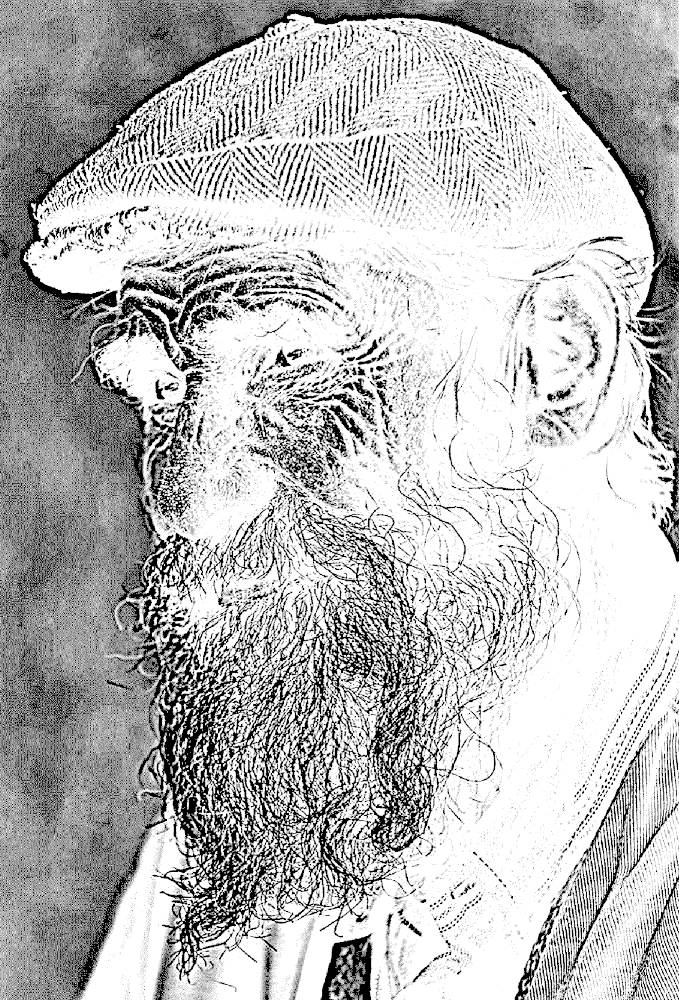
AWESOME - Our output should look like this now:

Import your Image with pressing Ctrl+I or go the long way with
File -> Import and choose the .bmp image.
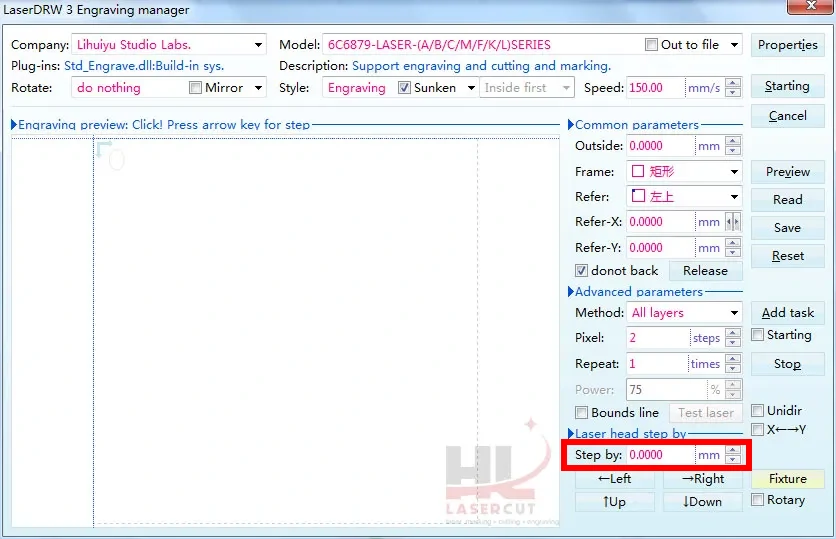
Now you should see on the very right side some layers.
Double click on the .bmp one.
The only thing we need to do is to activate the pass-trough mode.
Awesome - Now we should be able to engrave stunning results!
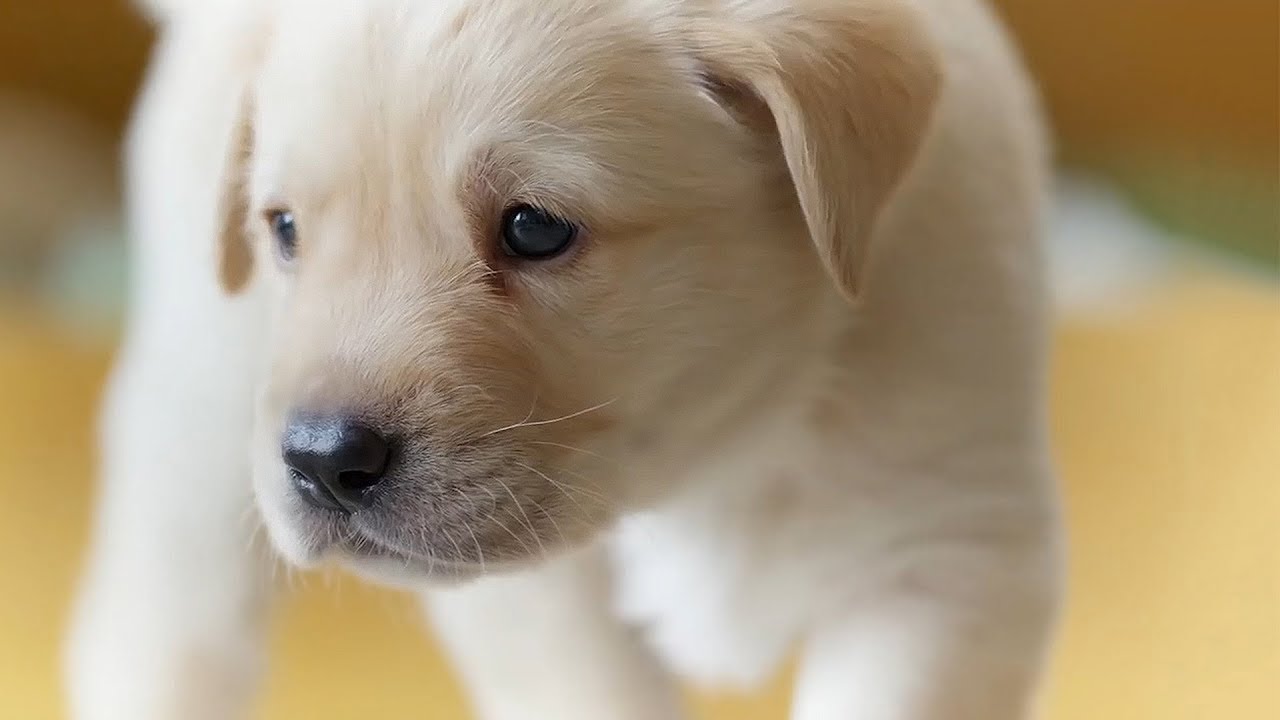
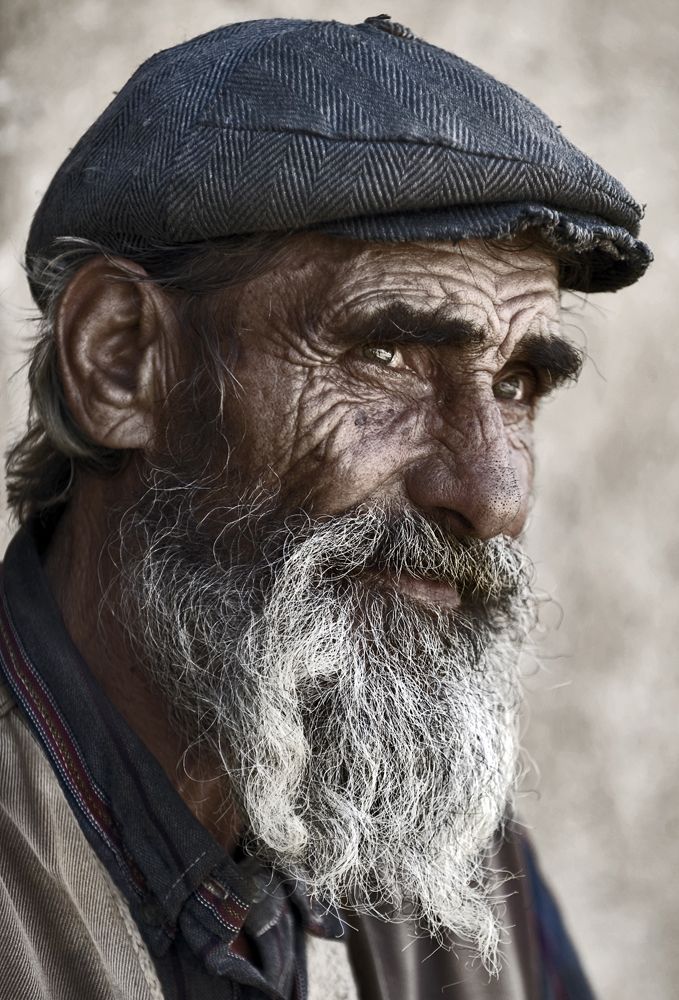
In this example we use this image:
If you want to use the image and follow the step just
Click here
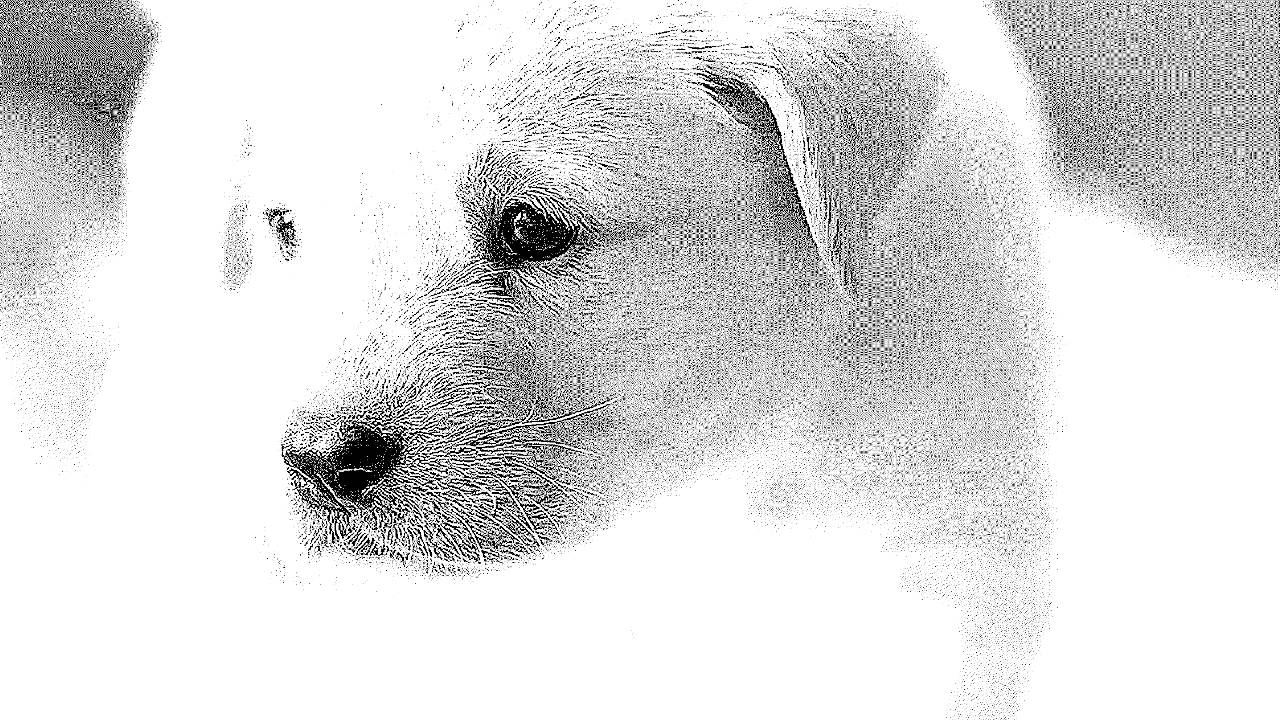
We import the image in imag-r.com.
If needed, we can now crop the image to select a special part.
Now we select the material we want to use, in my case it is wood.
In my case I will resize the image to 180mm in width.
Height will calculates automatically in scale.
Also i choose 318 DPI on the dpi setting.
Under Scan Gap and DPI you can see I use 0.08mm Step Size.
Now we can save our image.
For RDWorks i would definitely use .BMP as format.
Import your Image with pressing Ctrl+I or go the long way with
File -> Import and choose the .bmp image.
Now you should see on the very right side some layers. Double click on the .bmp one.
In the next short gif it shows which setting we set on 0.08mm.
That's what we call "Step Size".
Perfect - Activate your Air Assist and press START on RDWorks :)

In this example we use this image:
If you want to use the image and follow the step just
Click here
We import the image in imag-r.com.
If needed, we can now crop the image to select a special part.
Now we select the material we want to use.
In my case it is acrylic.
I'll resize my image to 130mm in width.
Height will calculates automatically in scale.
Also i choose 318 DPI on the dpi setting.
Under Scan Gap and DPI you can see I use 0.08mm Step Size.
Now we can save our image.
For CorelLaser i would definitely use .BMP as format.
AWESOME - Our output should look like this now:
Import your Image with pressing Ctrl+I or go the long way with
File -> Import and choose the .bmp image.
Now you should see on the very right side some layers. Double click on the .bmp one.
The only thing we need to do other than normal is to control the red marked value and set it to 0.08mm, since we have 318 DPI.
Awesome - Now we should be able to engrave stunning results!
© imag-r.com